
Now that you have installed your Splunk Stand Alone machine, it is time to get data into your instance.
The easiest way to get data into your Splunk instance will be via a file input.
There are however a number of other inputs that we can also configure, but they are more suitable for a distributed environment. By distributed environment we mean that different roles are installed on different servers.
So, what do you need to configure a file input?
- you need a file
- permission to read the file for the user you are running Splunk as
Although the files in this Github repo are older, they are perfect to use as test data. Let’s go ahead and download the apache.access.log file.
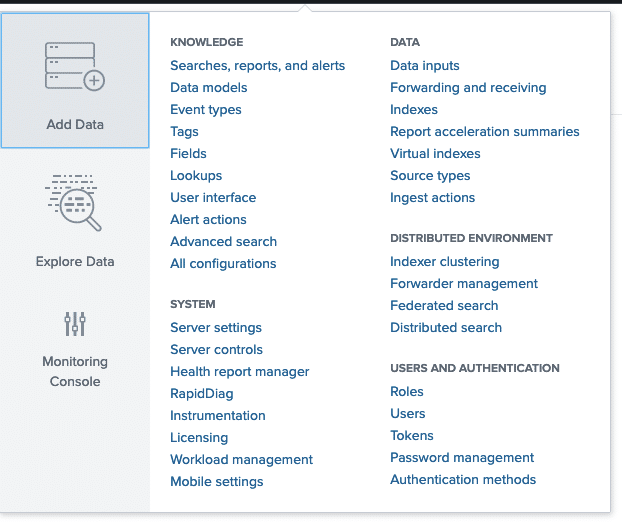
Once downloaded, you log in to your Splunk stand alone instance. You go in the upper right corner up to Settings and click the ‘Add data’ button as highlighted on the screenshot below.
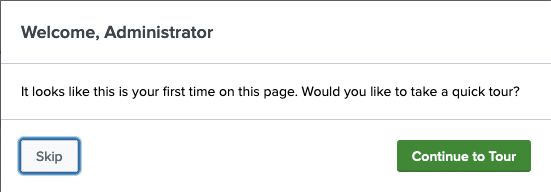
If you still are prompted to take the tour, you can safely dismiss it by clicking ‘Skip’.
You will be prompted with the below options.

You choose the last option on the left, ‘Upload files from my computer’.
We then have to go through this 5 step wizard.
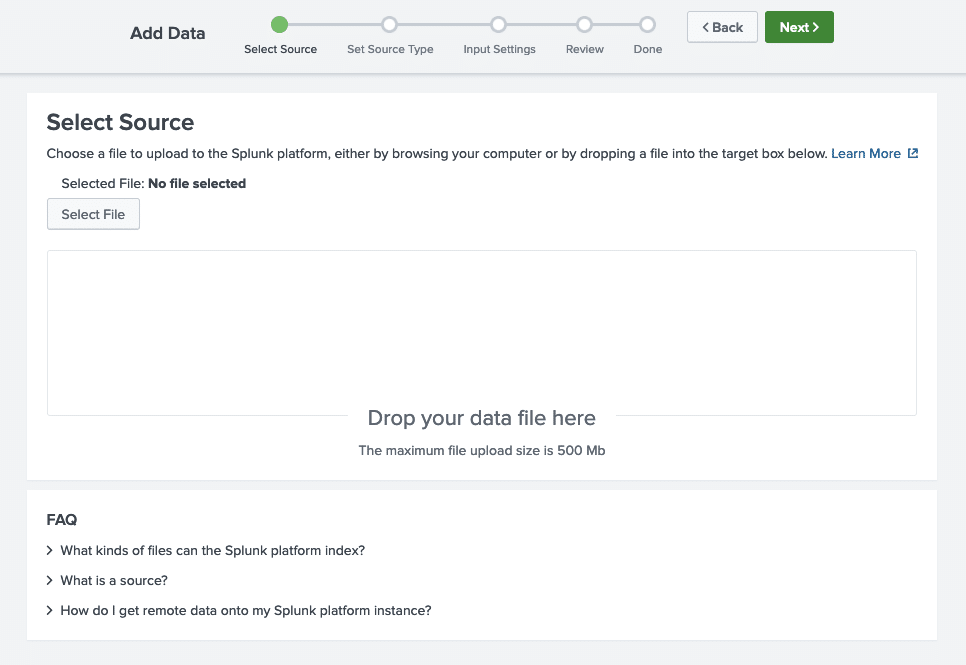
- Step 1 is to select your file (apache.access.log) from your file system. Once that is done click the ‘Next’ button.
- In step number 2 you will be asked to specify a sourcetype. Lets choose access_combined here and hit that ‘Next’ button again. (Don’t worry … we will explain everything about sourcetypes later.

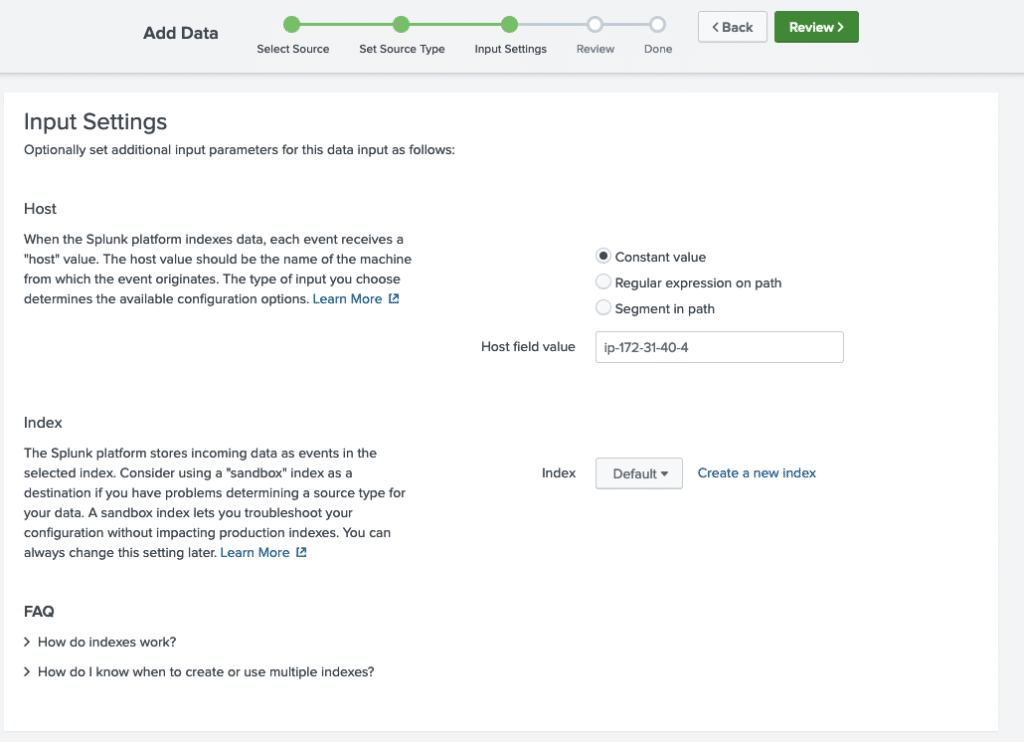
- In step number 3 we get to choose a host value and an index. Don’t worry about these settings for now and accept your defaults by clicking the ‘Next’ button.
- Step 4 asks to review our settings and click ‘Next’
- Step 5 is not really a step. It just confirms that the file has been uploaded successfully.
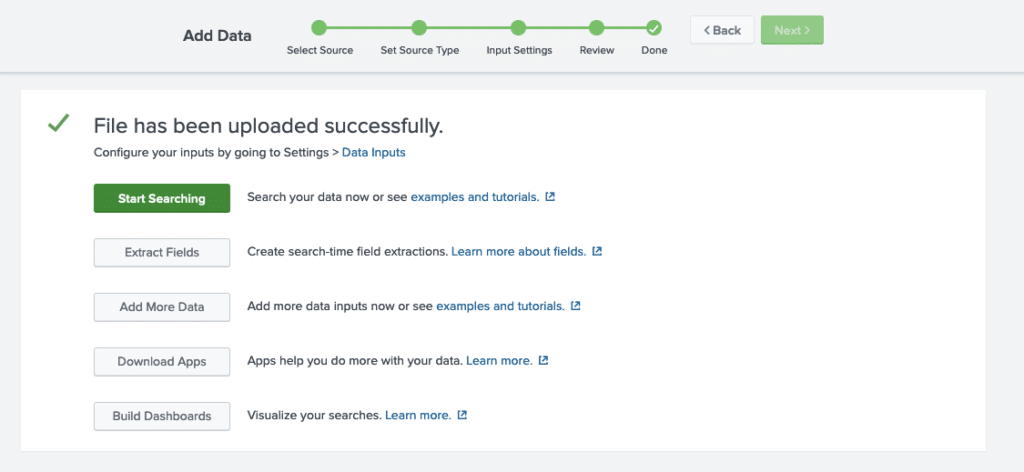
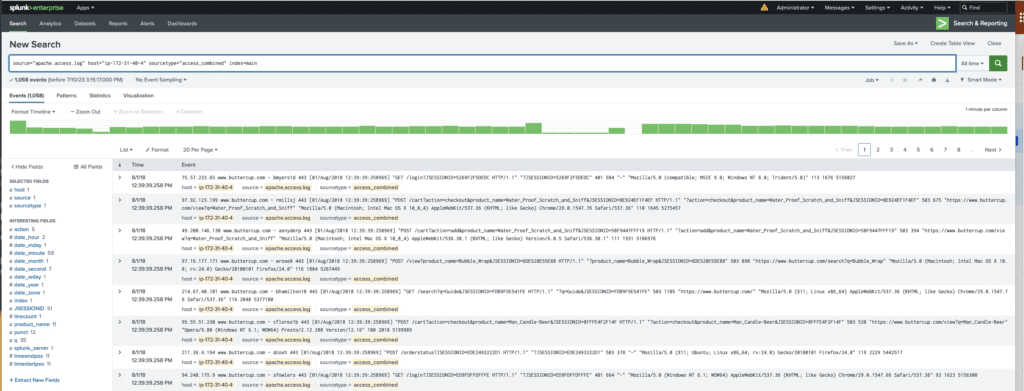
As a verification step you can press the ‘Start Searching’ button.
Note that on the below screenshot I added ‘index=main’ to the original query as the main index is in fact what Splunk means when it speaks about the default index.
OK, so, now we have data in our Splunk instance. But what we did was simply follow a wizard not really knowing what we did, right?
Stay tuned for the next article and we will explain you what these 5 steps actually were and which settings we need to pay attention to when we will be ingesting data on a larger scale.
See you in the next article!
This post showcases exceptional research and a deep understanding of the subject matter. The clarity of your writing and the…